Image Map
Showing posts with label My French countrystyle. Show all posts

Thursday, August 9, 2012

Aqua/turquoise shabby painted table tutorial: Another humbling experience

This is humbling experience of the week number two....
I love how my aqua turquoise table turned out in the end but I took a few wrong turns getting there.

I had an old, unfinished pine coffee table in my TV room for the longest time....
Because it was unfinished, there were crayon marks, stains and all sorts of gunky things collected in the cracks.
After about three years of looking at this sad little table and trying to remove staining spills from my kids who totally abused it, I decided to something about it....

Because that's how I roll when it comes to home DIY projects.

Slow and steady wins the race.

This tutorial has some tips telling you what NOT to do as well as what to do.

For instance,
Don't paint water based paint over oil based primer.

Don't listen to the guy in the paint store who tells you water based paint adheres just fine to oil based primer.
It doesn't.
It didn't make sense to me but I went ahead and followed the guys instructions.
He was an older fellow who looked to be very knowledgeable in all things painting related.......

After sanding the table andpriming it,  this was what happened after I painted on top of the oil based primer:
The paint peeled off like cheap nail polish, just as I suspected it would.


What was supposed to be a simple DIY project turned into a few days work...
I had to sand all of the paint off the entire piece with my orbital sander.
I started again.....

This time I didn't prime the piece at all.
I painted it with a mixture of two colors of paint from Martha Stewart.
Sea Glass and Aegean Blue.
I used two small sample bottles for this project.
BTW sample size paints are often the perfect amount for smaller projects...
I left the top of the table unfinished because I was going to stain it later.

Then I sanded the edges of the blue painted parts lightly.
I rubbed some stain from MInWax in the Provencal shade into the sanded parts to make the piece look weathered. 
Then I stained the top the provencal color.

There were little specks that I couldn't remove from the primer I had painted on the top before. I was told they gave the piece character so I just left them alone.
I finished the piece with a couple of coats with Minwax rub on polyurethane varnish.
We lost the knobs that came with the table a long time ago.
So I bought some bin pulls at the nearby Restoration Hardware outlet for 4 dollars each.
The total cost of refinishing this piece?
About twelve dollars.


I had a little paint left over so I painted this step stool too.


Pin It

Wednesday, March 28, 2012

My Farmhouse Bedroom...


It was a rainy day and I was feeling down.
My grandmother once said, if you are feeling depressed clean out a closet.
So i cleaned my room instead.
And I felt better!
Everything in my room is secondhand or handmade.
My 9 year old found this calendar for me in a box at a yard sale.

A friend made me this painting when my marriage was going through a rough patch.

The bedspread was found at the same yard sale. Would you believe I paid only five dollars for it?
The bed I painted.


I also painted this dresser.


We have a big old oak tree outside our window. It's three hundred years old.
It has seen a lot.
Pin It Photobucket

Thursday, February 23, 2012

Decoupage A Table With Sheet Music!

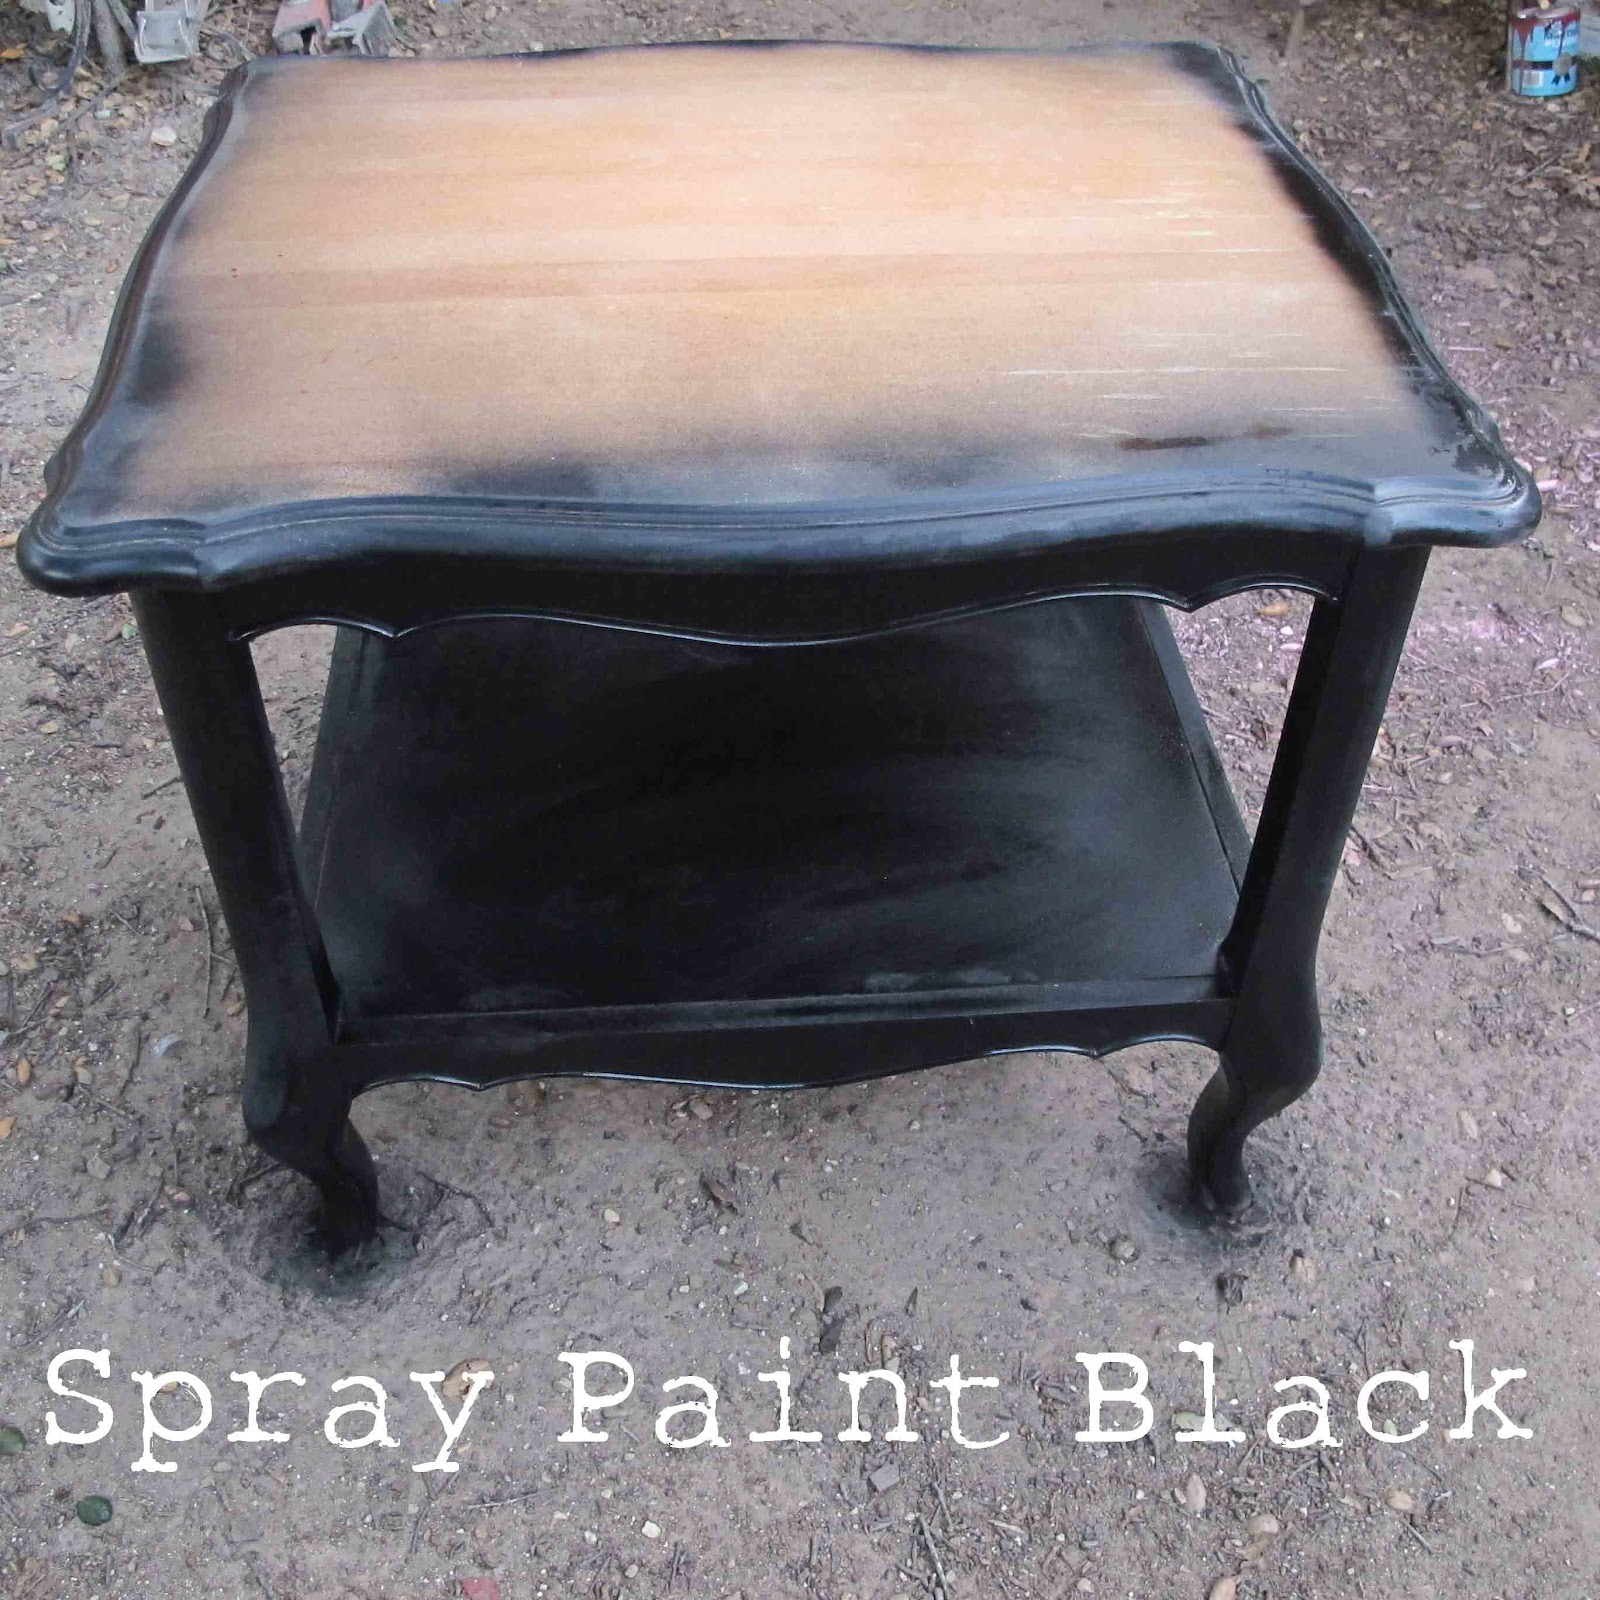
I found a side table at a rummage sale for ten dollars. It had an ugly finish on it but I could tell it was well made.
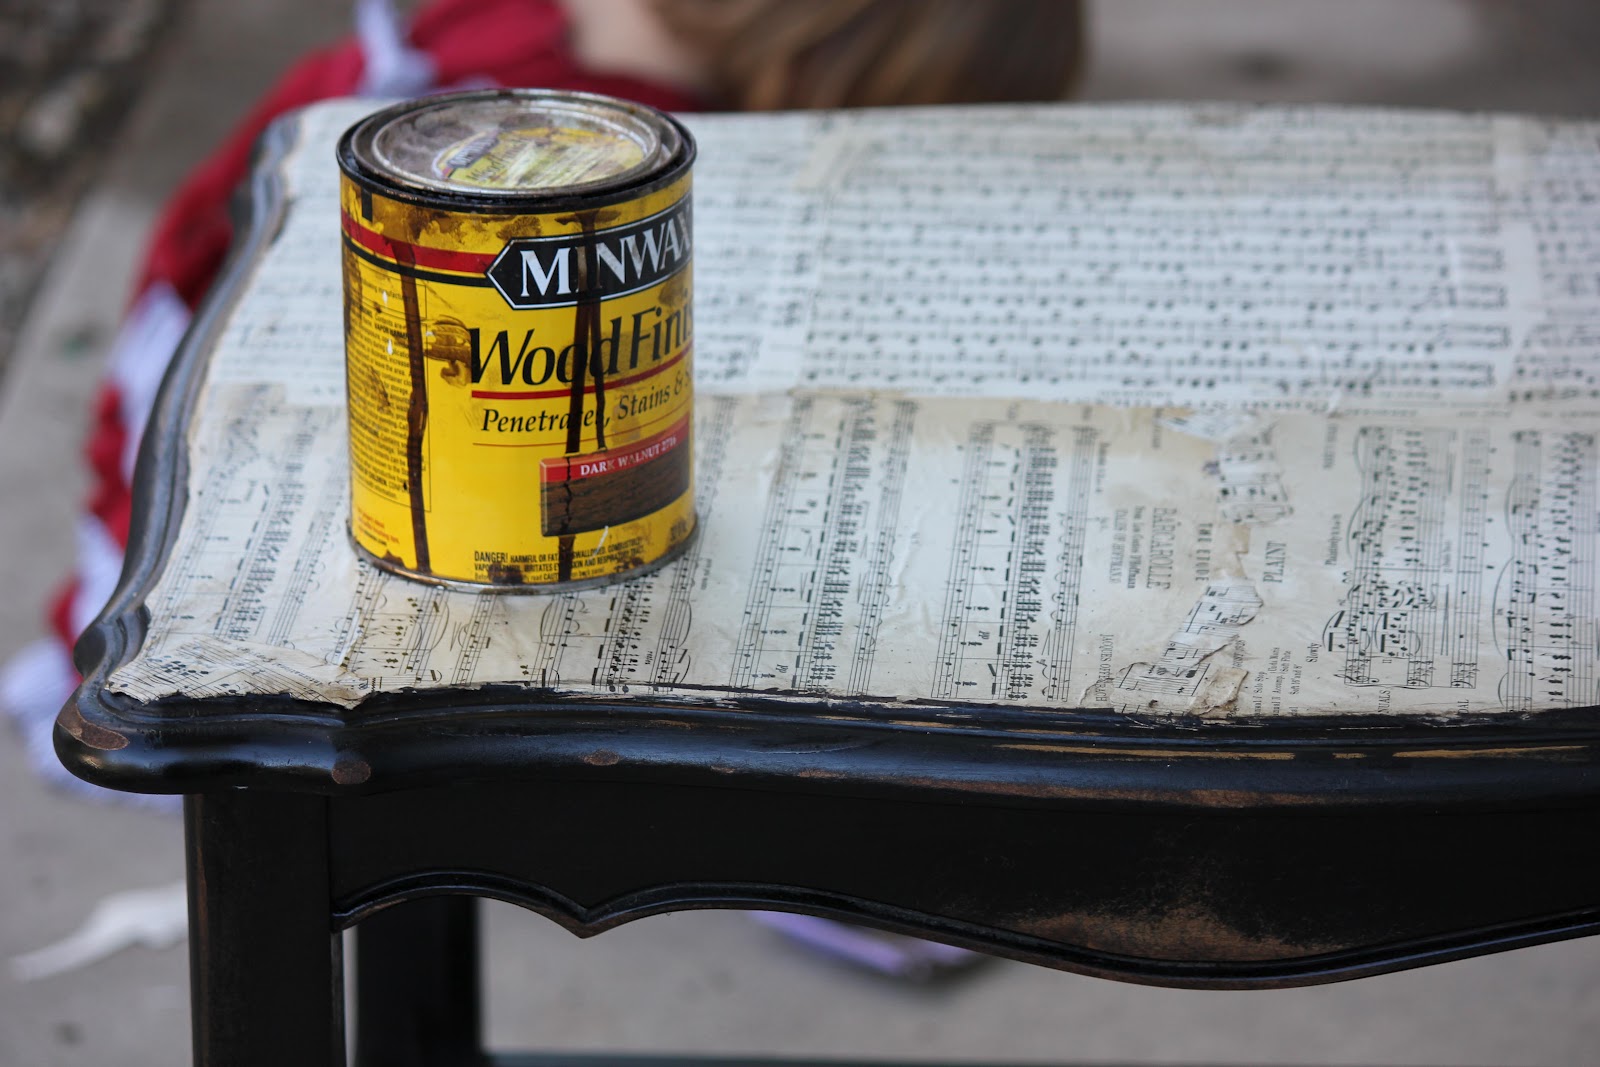
I also had a box of old sheet music found at an estate sale. Having made a few crafty projects with it already I was itching to try a bigger project.
I decided to give the table an antique black slightly distressed finish with the top of the table covered with the antique sheet music from the 1920's.


I also found this old locker basket recently . I think I will put some polyurtethane on it and use it in my kitchen as a bread basket.


First, sand off the original finish. You don't have to go crazy like I did and sand it completely either.

I spray painted the piece black.

I covered the top with the sheet music and let it dry. then I trimmed the edges and added some polyurethane to the top to seal it.

I then sanded it up and rubbed walnut colored stain onto the sanded parts to make it look old. The music was already faded so I didn't have to age it.


I would have to say I like how this turned out!

Pin It Photobucket

Monday, February 20, 2012

So Scrappy Lampshade


this is a scrap busting project fun for kids to make. 
A lampshade made from strips of fabric.
How to make it?
Remove the fabric from an old lampshade.
Tie strips of fabric around each section.
Easy Peasy!
My 16 year old daughter made this for her room and I love it!
I have to say that this isn't my original project. I saw it on a blog in the days before I started pinning.In searching for the source I found several more.Doesn't it stink when you find out lots of others have already done your project? Creative ideas are often that way. I call it the collective creative conscience.
If someone knows of the same tutorial can you send me the link so I can post it here?
Have a crafty week!
Pin It Photobucket

Wednesday, December 7, 2011

My Christmas Mantle Tour


This is my homemade Christmas mantle. I have a burlap,typewriter, and sheet music theme. Check back for tutorials on all of the projects.


You might be wondering why my watermark on my photos says Farmhouse Couture? I have started a new decorating blog called Farmhouse Couture for my home decor projects and small painting and home sewing company. I'm working on my second commissioned piece and I have a ton of decorating ideas to blog about. But I want to keep this blog here more sewing focused since that was why I started it and I want to keep it a place for sewists to stop by and know they can read about sewing! If you are into home decor, particularly farmhouse style with a French twist stop by my new baby blog for a visit! And please follow if you like it! It's lonely over there!


Photobucket

Sunday, October 30, 2011

New Sewing Nook Reveal


I have been busy fixing up my sewing corner this week. Do you ever look at a part of your home and suddenly you see it with new eyes, like you woke up and finally noticed it how shabby it has become? My little sewing corner in my dining room was terribly dreary. After doing my dining set refashion it looked even sadder than ever! Mabel, my 1948 Kenmore, and her table were looking sad and worn, her table's 1948 shiny varnished exterior cracked and worn. The walls were bare and drab too, and the big black office chair was like a bull in a china shop, hulled over there in the corner of my dining room."What an uninspiring little spot", I thought to myself,"I should do something about it!"
I started off by sanding down the sewing table and applying dark walnut colored stain onto the top and painting the rest of the desk a distressed white. I used the same technique as I use on my dining table here. I used the leftover materials from the dining table for this project.
I took a thrift shop bought bulletin board and trimmed it with upholstery webbing, crochet trim, upholstery tacks, and added a flower pin to the corner. The only material bought for the project was the webbing which was 1.50$.
I had a flowered hook bought from Anthropologie a few years ago and screwed it to the wall so I could hang up my scissors instead of having them banging around in my desk. I can also now hang up my measuring tapes instead of constantly misplacing them.
I hung up a couple of thing I love too, a butterfly display Richard brought to me when he went on a Panama trekking expedition, and an old pharmacy sign I bought at a flea market in Paris which is a nice memory of a trip I took to visit one of my best friends and where we spent Gigi's first birthday. We went to a cafe for her birthday and Gigi threw two glasses onto the ground and smashed them!Gigi is actually named after St. Genevieve, the patron Saint of Paris. The pharmacy sign is magnetic so I can finally hang up my magnetic letters! Above the sign is a little metal flowered plaque I bought at a garage sale for a dollar.
I moved the big black Aeron desk chair which was super comfy but hideous looking in my dining room back down to Richard's office and instead put a little turquoise swivel chair I got for free on the roadside at my sewing table. I made a little slip cover for it from some leftover fabric I had from some vintage curtains I had bought at the thrift shop and blogged about here. 

The funny thing is a friend who read my blog saw those curtains I bought and had blogged about and wrote me to say they had been her grandmothers and she had given them to the thrift shop and was so surprised to see them on my blog! She was having thrifters remorse, whereby you see something you gave up to the thrift shop and then wish you hadn't. But she didn't really want the fabric because she didn't sew and it didn't match her home. Well, she was pregnant at the time so I made her a nursing cover from the fabric. That way she could have a nice memory of the fabric she loved. And here is the fabric again on my slipcover. Don't you love it!
So now all these little items I love and have blogged about now have a home!
I will be posting soon some tutorials for some of the projects I made for my sewing nook this past week which will be:
  • How to make an upholstery webbing trimmed bulletin board
  • How to properly apply glaze to a furniture antiquing project
  • How to make an office chair slipcover


Photobucket

Related Posts Plugin for WordPress, Blogger...